If you’re planning to operate a gutter fabrication machine, the first step you need to take is to read and understand the instruction manual provided by the manufacturer. The manual will help you learn two things: all the appropriate safety measures so that injuries can be avoided, and the proper operation of the machine to ensure it doesn’t get damaged and that high-quality gutters are produced. You can also learn additional information using resources like Interstate Roofing.
For safety purposes, if you’re operating a gutter fabrication machine, under no circumstances should you wear jewelry, loose-fitting clothing, or anything else that could get caught in the machine. It’s also advisable to wear both gloves and safety goggles for your own protection.
Prepare for Use
A gutter fabrication machine generally can produce up to 30 feet of gutter per minute, which means it only needs to be used for a few minutes on a given day in order to produce the amount of gutter you’ll need to complete your daily work. In fact, quite often, gutter machines will be brought to the worksite with a coil of material already on the machine, ready to be run through. If the machine has a cover tarp, it needs to be removed, and you need to make sure that the correct amount of coil material is in the machine.
Once that’s done, you need to find an extension cord that’s the necessary size and length to reach the electrical outlet. Before doing this, you should make sure the power source you’ll be plugging into has enough power to suit what you need. After you’ve ensured the power source has the necessary amount of power, you should connect the power cord using a ground fault connector, unless you’re connecting to a generator, in which case, you must ensure that the generator has enough power to run the gutter fabrication machine.
Before You Begin
If you’re ready to begin using the gutter fabrication machine, you should take the following steps before beginning to operate it:
1. Look for paint damage, surface imperfections, wear and tear, or any other irregularities that could signify a potential problem.
2. Do a thorough visual check of all wiring and electrical components to safeguard against any possible electrical hazards.
3. Ensure the gutter fabrication machine’s safety covers are all in place to prevent dust and dirt from getting into the machine.
4. Check the Reverse/Forward button to make sure it’s in the forward position.
5. Remove the spool-retaining pin from the spool of coil that’s threaded into the gutter fabrication machine.
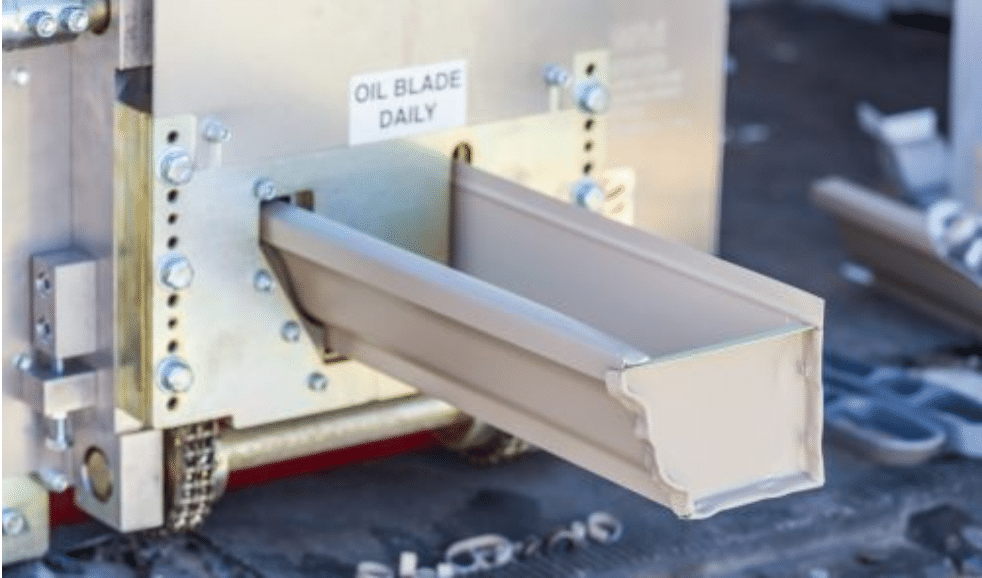
6. Lubricate the machine’s blade with a lubricant recommended by the instruction manual.
7. Use the machine briefly just to clear out all the gutter material that may have been left inside the machine from previous use.
8. Ensure position run-out is at 8- to 10-foot intervals so that the gutter coming out of the machine will be properly supported, and then run 8 to 10 feet of gutter through the machine to test it.
9. If any problems are found, diagnose those problems and make corrections before continuing, and if any adjustments are necessary, disconnect the power line and shut down the machine.
10. Faulty alignment is the most common issue you’ll run into with a gutter fabrication machine, so if you encounter this, make sure the alignment is fixed either by you or somebody who knows how to perform the task properly.
Once Operating
1. Clear any garbage out of the machine.
2. Get rid of the existing material between the entrance guide system and the spool before installing the spool’s retaining pin.
3. After installing the spool, run the end piece of material out of the machine, and then get rid of the piece.
4. If alternate material coil is on a different spool rack, get rid of its spool-retaining ring and begin threading as per the directions laid out in the instruction manual and follow the same procedure if you find that the coil needs to be replaced with a new coil.
5. Pull the end of the coil away from the spool and then cut both corners at 45-degree angles roughly 3 inches away from the corner.
6. Take the trimmed edges of the material and insert them into the first drive rollers, running the material through the machine and ensuring that the material is moving smoothly.
7. If the material isn’t running through the machine smoothly, reverse the material a short distance, figure out what the problem is, and clear the obstructed path.
8. Push the material through the gutter fabrication machine until the end of said material passes the shear.
9. If any distorted material develops, run it out of the machine, cut it off, and get rid of it.
10. Close the safety covers and make sure they are secure.
11. Run your material through the machine to produce gutter. The actual gutter production should only take a few minutes.
Clean Up and Storage
1. Once it’s finished, immediately turn the machine off, disconnect it from the power source, and make sure the spool-retaining pin is reinstalled.
2. Ensure that material is threaded through the entire machine to protect the rollers from impact damage when the machine needs to be transported elsewhere.
3. Cover the machine with a tarp to protect it from potentially poor weather conditions or damage from dirt and other garbage. This is important since any type of debris getting inside the machine could cause serious damage, so you must also be very careful not to dump any old downspouts or gutter into the truck or trailer that contains the gutter machine.
GET A FREE ESTIMATE
HOMES, IMPROVED


SERVICE AREAS
Avon
Weston
Bristol
Burlington
Canton
Farmington
Glastonbury
Granby
Manchester
Newington
Simsbury
South Windsor
Suffield
West Hartford
Wethersfield
Windsor
And surrounding communities
HAVE A QUESTION?
Click here to request a free estimate


